

Written by Filip Dunđer, Software Engineer at HTEC
Getting to know MvvmCross
Using Xamarin as a cross-platform mobile development technology has been happening for a while at HTEC. Our mobile devs are digging deep and trying out new tools and approaches, so this time, we have decided to present components of the MvvmCross framework specifically designed for Xamarin. This framework is based on the Model-View-ViewModel (MVVM) design pattern and supports Xamarin.iOS, Xamarin.Android, Xamarin.Mac, Xamarin.Forms, UWP and WPF.
When creating modern UIs using MvvmCross you may encounter several major obstacles due to an insufficient amount of tutorials and instructions on official pages and forums. While creating Xamarin Native projects using the MvvmCross framework, you’ll notice that not all properties are available for binding, or even that two-way bindings don’t come out of the box. This is when you need to use custom data bindings.
In the following tutorial, we will show how to create a custom binding for a property that doesn’t have binding support out of the box. This will be covered in the Android example. Moreover, we will talk about two-way bindings which will be covered in a more complex iOS example.
Target Bindings
Custom binding (Android)
Target bindings are used when we want to create an additional property that is not part of the model/object to which we bind or when we want to create a two-way binding. MvvmCross supports a lot of binding properties on multiple platforms, but usually that’s not enough. For example, if we want to change tint color for an image view on Android we need to create a custom binding because binding for tint color on image view doesn’t exist for the Android platform.
MvvmCross allows us to create custom binding by inheriting a base class called MvxTargetBinding. There are additional target binding classes that we will cover later. Let’s cover a basic example for Android tint color.
In order to make this work we need to do the following things:
- Create a target binding class that will change the tint color
- Register that class and custom property name
- Do binding
Creating a binding class is quite simple, we just need to inherit MvxTargetBinding class and write our implementation for setting a value. The class will look as follows. (view code)
The next step is to register a custom property name to which we will bind our ViewModel property. When the property changes, it will trigger our binding class. MvvmCross uses the Setup class as a bootstrapper for the MvvmCross system and for your app. This class is located in the platform-specific project (Android, iOS, etc.) and it’s called “Setup.cs”. Since we are creating a custom binding for the Android platform, we should make some changes in the Android setup class so our binding is registered.
In the Android setup class, we should override the FillTargetFactories method and write the following code. (view code)
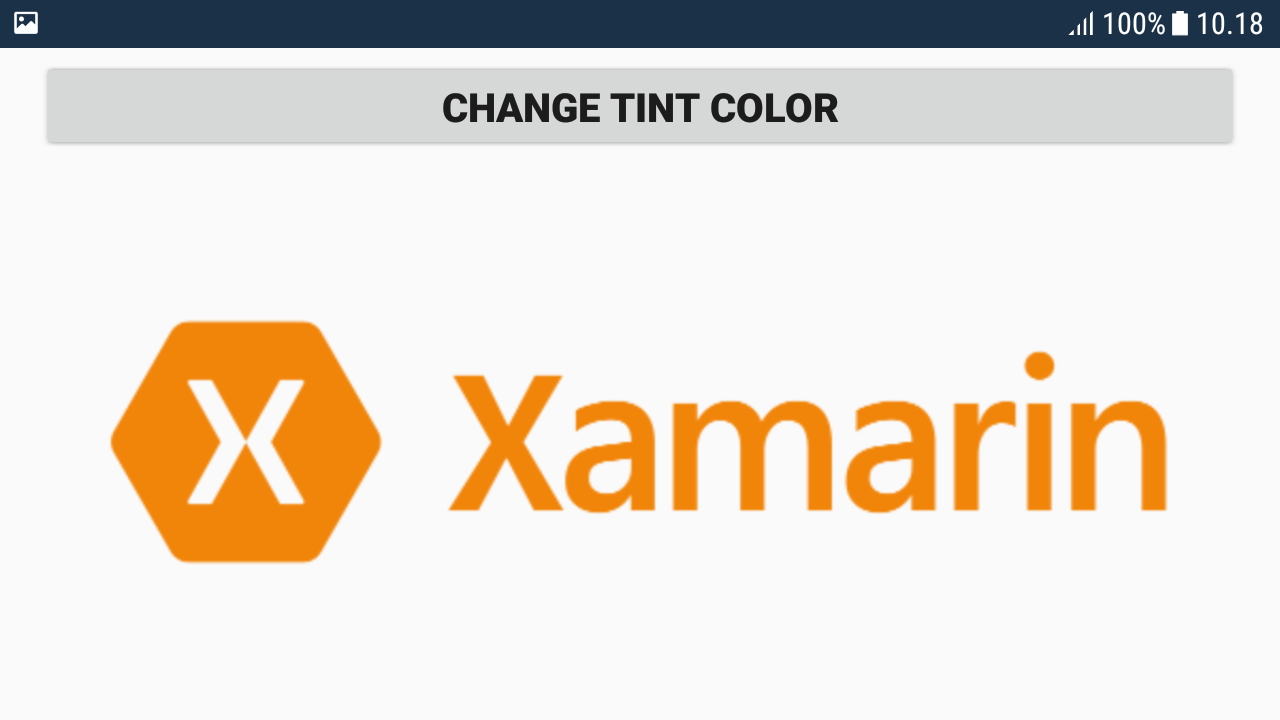
“TintColor” is the name of the property we are going to bind. The property name is located inside double-quotes. Change this to your property name. The last thing to do is to test our binding by doing the binding. ? (view code)
In this binding example, we are using our custom TintColor property on Android ImageView. Note that we are using NativeColor converter since the color in ViewModel is not an Android color but platform-independent color (MvxColor). We need to convert it to the Android color in order to make this work. More info about color converter can be found here.
Demo examples that include this code are located here.
When you run the code you should get an application that looks like this:
Two-way binding (iOS)
Since we’ve covered the example for Android, let’s write one for the iOS platform, but let’s make things a bit more complex. Sometimes requirement changes happen mid-project. In my case, I had to add an additional button in the iOS application that would reset the color of an image to default. Since the Android didn’t need to have this and we needed to support this on iOS we did not change the core project which has common logic. The following example will cover this situation. This means that we will have to create a two-way binding that will update the view model property on button click. In order to do this we will use MvxWithEventPropertyInfoTargetBinding.
Two-way bindings require an event that will be fired when a specific property changes. Since we will be using UIImageView for control which will display logo image, we will need to extend it and add an event that will be raised when the TintColor property changes.
Let’s extend UIImageView to add event support. (view code)
Keep in mind that we are using event without arguments since Mvx binding will not detect the type if it’s not “EventHandler”.
The next step is to create a binding class. Same as in Android we will create a target binding class, but in this scenario, it will support two-way bindings. (view code)
The next step is to register it. Now we will do the same thing as in our Android project, but this time we will do it in an iOS setup class. Again, we override FillTargetFactories and register our custom binding. (view code)
Now we need to do binding, which is quite different from the one in Android. Since iOS doesn’t support bindings through the designer, we will do it in the code behind of a view. The code behind the view should look as follows. (view code)
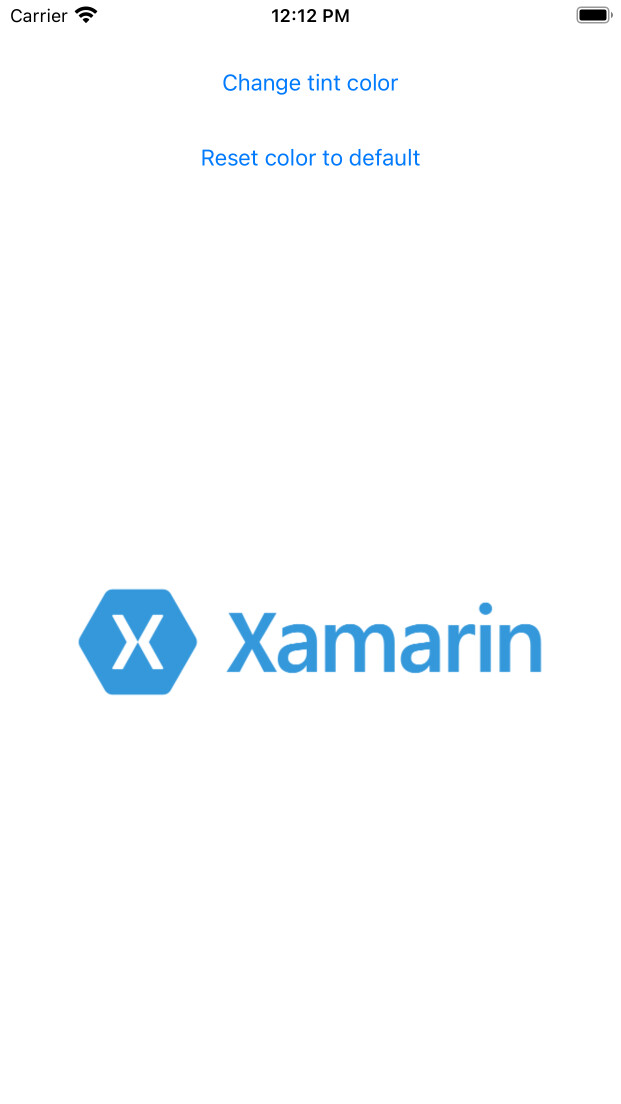
ResetColorToDefaultButton is the name of the additional button that we added to the iOS view.
You can notice that we are using a different converter for the iOS project and the reason for this is that the default color converter doesn’t support conversions in both directions. The app will look similar to the Android version, except it has an additional button to reset the color to the default one.
That’s all we need for iOS. In the next section, we’ll cover other binding classes provided by MvvmCross and show major differences between them.
MvxConvertingTargetBinding
This class is the base class of all the other target binding classes. It eliminates backward loops when doing binding. You will not usually use this class as it is. Instead, you will use classes defined below.
MvxPropertyInfoTargetBinding
Here is the shorthand version of MvxConvertingTargetBinding, mostly used for one-way binding. It supports PropertyInfo as a parameter that allows a more user-friendly registration and usage of binding classes.
MvxWithEventPropertyInfoTargetBinding
Used mostly for two-way bindings. It’s an extended version of property info binding which supports subscription for events. We can see the usage of this class in the iOS example above.
MvxAndroidTargetBinding
This class is, as its name says, Android-specific. It provides Android-specific stuff which can be accessed from the AndroidGlobals property. The idea is to use this when we need something specific from the Android platform, such as the Android application context.
To sum up
This tutorial gives you an overview of how custom bindings work in MvvmCross. All of the code can be found at github.
*Latest MvvmCross version at the time of writing the article was 6.4.2