Testing is a decades-old but still fast-growing space that allows software developers to constantly subsume new processes, tools, and methodologies.
This blog explores the fundamental steps for hardware testing that you should follow when working on complex projects.
What does testing with hardware mean?
Projects that require testing with hardware include:
- A piece of hardware
- Firmware that is running on hardware
- Software that communicates with the hardware
- A communication protocol between the hardware and software.
These projects can be rather complex. To help you understand what this process looks like and how to overcome the hurdles, let’s look at a typical scenario, from start to end, focusing on the critical points in the process and offering solutions for each. Ideally, this should be the desired flow of the events that will lead to a successful deployment.
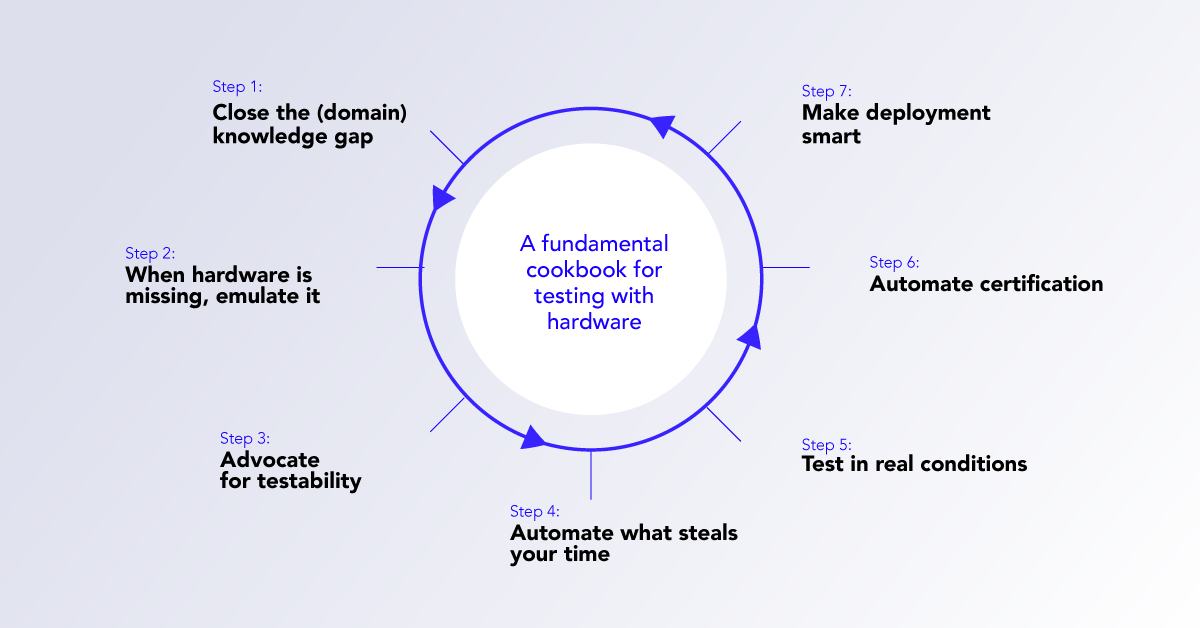
1. Close the (domain) knowledge gap
The first obstacle you may encounter is a gap between your current knowledge and the project’s demands. And you will need to close this gap quickly.
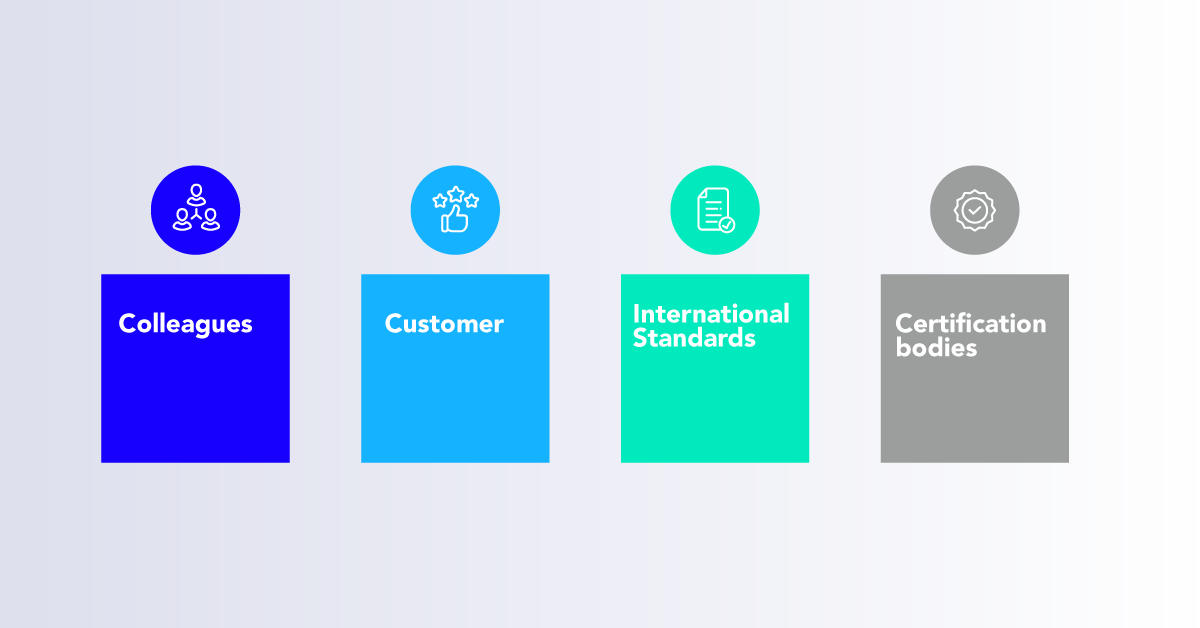
Here are a few sources you can leverage to gain domain knowledge:
- Colleagues—Reach out to your colleagues for expert advice from someone who has been involved in a similar project or is working on one currently.
- Customer—Usually, the client has more extensive knowledge about the business domain than you.
- International standards—These kinds of projects often need to be compliant with international standards. They might be a bit complex at first sight, but they will generate a lot of critical questions and provide answers.
- Certification bodies—Certifications are a source of extensive knowledge you can leverage for future projects.
2. When hardware is missing, emulate it
Another thing you learn quickly is that the hardware is elusive. In my experience, we were usually able to start the development of a software piece of the system before hardware was ready. To make things more complex, it usually takes three to six months, or even a year, to complete the hardware.
So, what can you and your team do? You can build an emulator. There are a few important things to keep in mind here:
- Emulators are complex and usually mimic the behavior of real hardware (device)
- The emulator is a piece of software you will have to maintain
When thinking about building emulators, consider making them universal. So, if you have multiple instruments or devices, think about building one emulator, as you’ll be able to manage everything in one place.
Also, remember that the emulator is another piece of software with its own sets of expectations and requirements, which don’t necessarily have to come from your customer — they can also come from your team. Either way, it is important that you treat the emulator as a separate piece of software.
3. Advocate for testability
Once the emulator is in the house, you will slowly start closing the domain knowledge gap, and the initial parts of the software are available for you to test. For these kinds of projects, it is imperative to advocate for testability from the very beginning.
These projects usually do not have a UI part (or it is developed in the later stages), so you should opt for hardware testing that does not include this part, at least initially.
In this case, we usually develop analytics engines, calculation engines, and data transformations first. Although you should ensure that the app is testable from the very beginning, you need to shift your focus to controllability and observability because it is crucial for controlling the system, bringing it into the right state, and observing what’s going on in that state.
So how are you going to do that?
- Provide the right inputs at the right time—Define the right scope and the right sample size from the very beginning because it will verify the foundation of the product you are building. By doing this, with the help of an emulator, you will be able to control the application and achieve the desirable states.
- Creating an efficient logging strategy—Because you are testing a lot of things that are going without the UI (calculations, transformations, data flows), you should be able to find whatever you need rather quickly and more efficiently. So, make sure your logging strategy works for you by staying focused on what you need there and avoiding unnecessary information.

4. Automate what steals your time
Now you feel confident because you are closing your domain knowledge gaps. You have the emulator, which helps test various features, and you’re able to control the system and have a clear overview of what’s working or not.
Everything seems to be running smoothly, right? Not necessarily!
You suddenly realize that these systems are much more complex than you think. No matter how much you prepare for an unexpected turn of events, you never know what challenges are lurking in the dark. The devices and instruments can run in different configurations, and, in the end, you need to test them all.
And what do you do in this case?
Automate whatever steals your time.
When it comes to automation, projects like these are specific. For instance, let’s say you are measuring blood cholesterol levels. It takes a lot of time to create a result with some input data, prepare that data, analyze what happened with it, and realize that your cholesterol level is 4. To avoid this scenario, you should automate what takes up most of your time, including data preparation, data transformation analysis, or analysis of end results.
At this point, the real hardware is usually ready, and you can finally start working on the real thing. Now, the question arises:
Should you trust emulators?
Emulators are good, but should you use them now that you have the real hardware? In most cases, you will not stop using them. In fact, you will probably use them more than expected. My team used to continue using emulators even when we had the hardware or the prototype ready — emulators are simply more convenient and faster.
However, there are cases when you must play with the real thing because emulators do not have the required capacity to perform the needed activities.
Here are a few things emulators cannot do:
- Time-related testing
- Performance
- Reliability
I’ll share one success story where my team managed to use hardware as the ultimate emulator. They were working on a new product built from scratch, meaning that hardware, firmware, software, and communication were all built from zero. The firmware was built in a way that it could be flashed onto a device or run as a separate (desktop) application. This means it was running as an emulator independently of an instrument.
Overall, designing firmware that is also an emulator saved the team a lot of time and energy because it allowed them to update firmware and the emulator simultaneously and not have to investigate potential issues separately.
5. Test in real conditions
One thing you need to remember is that sometimes the equipment and the devices you are working with might be running in special conditions. That’s why it is important to test your devices in real conditions, with the right environment, temperature, humidity, pressure, or, at least, to mimic the conditions and make the environment as authentic as possible.
This way, you can have a clear view of how your equipment behaves in real-world circumstances.
6. Automate certification
There may be projects where you need to pass certifications issued by third-party certification bodies. With some projects, you need to pass certification with every release. If you need to pass certifications often, you might want to consider automating the certification process.
At its core, certification is a process where the certification body issues a set of conditions that your system needs to satisfy. To be able to pass the certification, you need to complete a set of tests, which might get tiresome and time-consuming with every release.
Thankfully, certification bodies usually accept log files or similar input as proof that you executed a prescribed set of conditions. So, when building a logging strategy, you should also think about easy ways to display them in your log files.
7. Make deployment smart
Finally, you have reached the point when your project is ready for deployment. But you need to make it smart.
Make sure you do staged rollout and add auto-update functionality to your system if possible. The auto-update feature on systems like this is still rare. However, if you see an opportunity to add this feature, do it because it will save time and energy for technicians and people on the customer side.
Hardware testing with confidence
Because every project is unique, there is no magic recipe when testing with hardware. My experience has taught me that the seven steps listed here will help your team find solutions to some of the most unexpected and challenging problems. These principles will help teams develop hardware testing strategies, even as they venture into newer technology territories, that will help achieve high-quality results.
Want to learn more about how HTEC’s technology expertise can transform your business? Explore our Technical Strategy and Software & HiTech capabilities.